 Eyewear Virtual Try On Services Canada: How to Choose the Best Solution for Your Brand
 Eyewear Virtual Try On Services Canada: How to Choose the Best Solution for Your Brand
Quick Summary
- Link-based, no-code VTO often provides the fastest time-to-market for pilots and omni-channel campaigns.
- Check for privacy compliance (PIPEDA) and French language support when selecting a vendor for the Canadian market.
- Review face-fit accuracy, visual realism, mobile device performance, and reporting capabilities before procurement.
Introduction — Why Canadian Eyewear Brands Are Evaluating Virtual Try-On Now
If you’re a Canadian eyewear brand, you’re likely exploring eyewear virtual try on canada to reduce returns, boost conversions, and reach shoppers across web and social channels. Virtual try-on (VTO) is moving from “nice to have” to core commerce tech because it improves online product visualization and enables omnichannel shopping experiences on mobile and desktop. As you evaluate vendors, this post will help you compare approaches, weigh technical and privacy considerations (including PIPEDA compliance), and decide whether a no-code, link-based solution or a traditional SDK/API makes sense for your brand. Ready to skip the long tech project? Learn more at tryitonme.com.
Why Canadian Brands Need Virtual Try‑On
Canada’s major retail hubs — Toronto, Vancouver, Montreal — are competitive e-commerce markets where shoppers expect rich product visualization and fast, mobile-friendly experiences. For eyewear and accessories, fit and look are central buying factors, and virtual try-on helps customers make confident choices in channels where they can’t try items physically.
Local considerations for Canadian brands:
- Bilingual support (EN/FR) is often required for national rollouts.
- Privacy and data storage must align with PIPEDA; review vendor privacy policies carefully.
- Channel mix: DTC sites, marketplaces, email, SMS, and social ads should all be supported by the VTO workflow.
When evaluating an eyewear try on vendor canada, focus on workflow simplicity (how product images are turned into try-on assets), multilingual support, and the ability to deploy links across marketing channels without long development cycles.
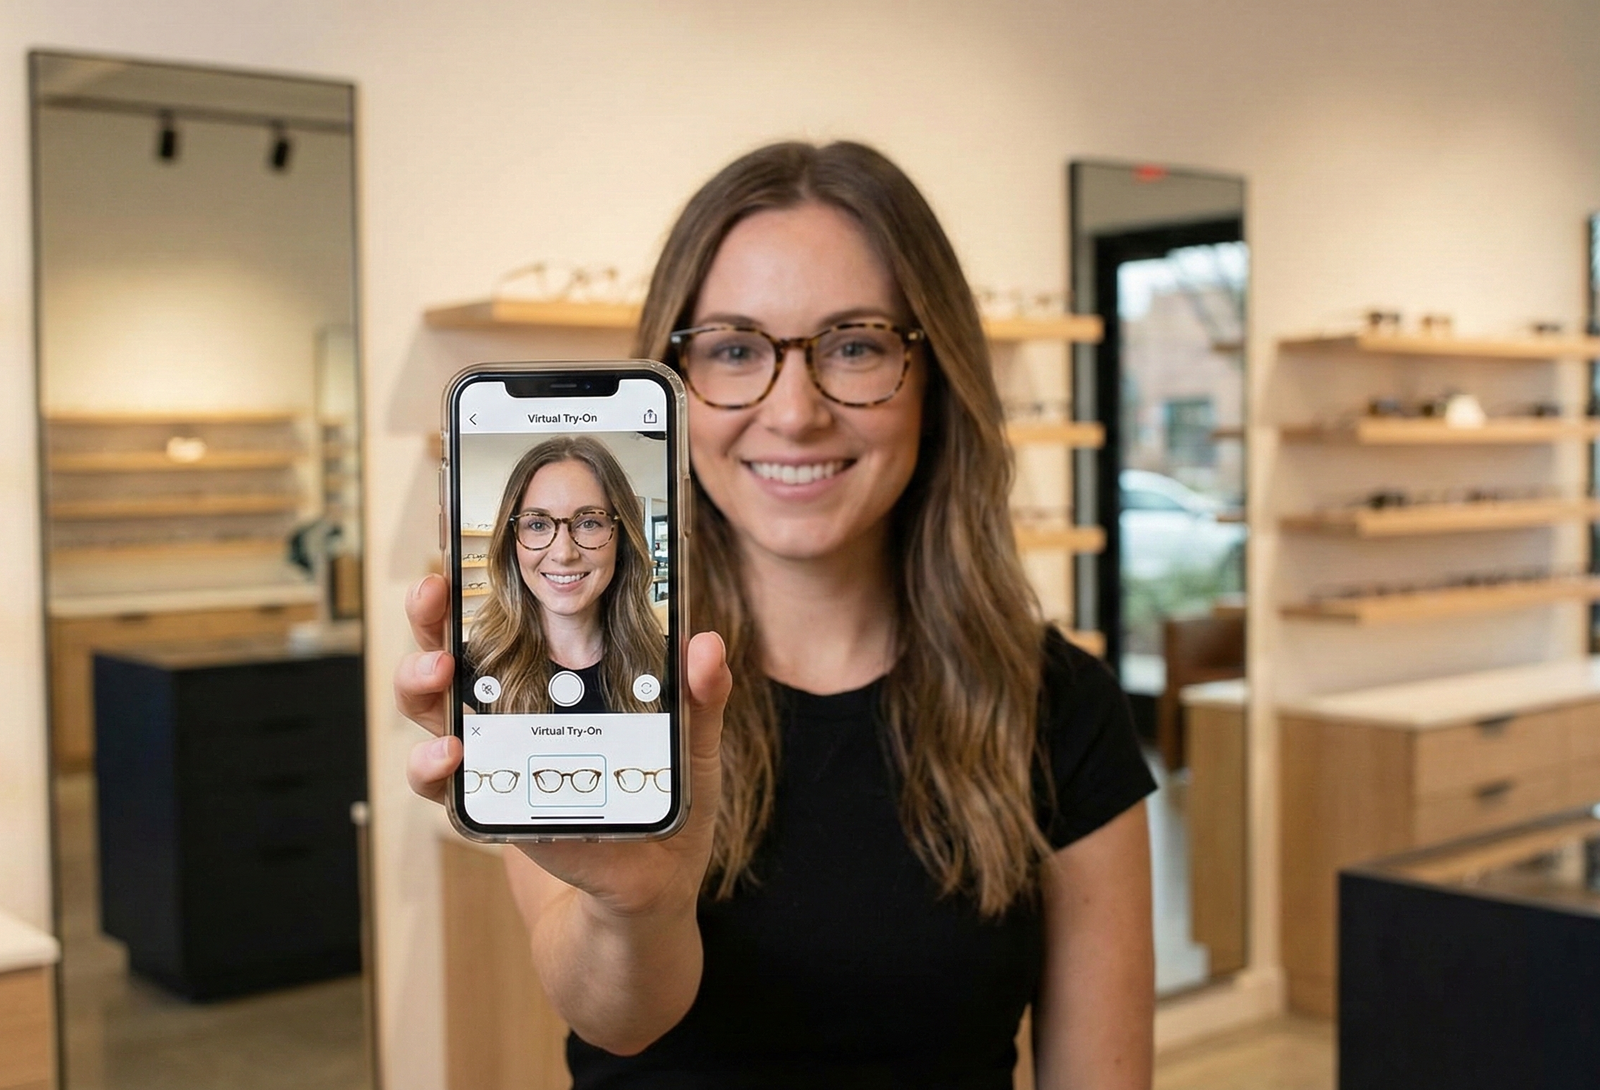
What Eyewear Virtual Try‑On Actually Is
At its core, eyewear virtual try-on mixes computer vision and web rendering to overlay frames and accessories on a shopper’s face or photo. Key components:
- Face detection & tracking: identifies facial landmarks to anchor frames and scale them accurately to individual faces. See a pupillary distance guide.
- Frame anchoring & scaling: aligns the eyewear model to the nose bridge and ears so proportions look natural. Learn about frame fit.
- Lighting & shading: applies basic shading, reflections, and occlusion so frames feel grounded in the scene. Read about eyewear reflection techniques.
- Asset pipeline: converts standard product imagery (front and side photos for eyewear) into 2D/3D assets that render in the browser.
There are two common deployment models:
- SDK/API integration: an embeddable SDK or API that development teams integrate into your app or site. This offers deep customization but requires engineering resources.
- Link-based, no-code VTO: vendor prepares the assets and hands you a shareable product link that opens the try-on experience in a browser. No SDK or app required.
For developers and technical buyers: web AR standards such as the W3C WebXR resources and the WebXR Device API define capabilities for immersive experiences and browser support.
Key Benefits for Eyewear & Accessories
- Better product visualization: shoppers can preview fit and style, improving buying confidence.
- Reduced friction across channels: link-based try-on works in email, SMS, and social, shortening the path to purchase.
- Broader product fit: works for eyewear, jewelry, watches, and hats — each accessory category benefits from being visualized on real faces or photos. Examples: jewelry, watches.
- Marketing lift: interactive try-on links can increase engagement and simplify influencer and paid social campaigns.
Technical & Business Checklist to Evaluate Vendors
Use this checklist when assessing virtual-try-on services. Ask vendors to provide demos, sample links, and proof for each item.
Implementation & resources
- Time-to-market: confirm typical turnaround for asset creation and link delivery.
- Dev requirements: zero-code (no SDK) vs SDK integration. Request clear statements of required engineering hours.
- SLAs: uptime, support response times, and maintenance windows.
Product & catalog support
- Product input workflow: what photo types are required (e.g., front/side for eyewear)?
- Photo-to-3D pipeline: automated or manual processing? Ask for sample asset files.
- SKU scale: how many SKUs can be onboarded per month?
Multi-channel deployment & compatibility
- Link-based support for web, mobile browsers, Instagram, SMS, email, and paid ads.
- Browser/device compatibility: request a browser compatibility matrix. For broader guidance see progressive web app resources.
- Performance considerations: request vendor guidance on mobile performance and Core Web Vitals for try-on experiences. See mobile performance notes.
Privacy & localization
- PIPEDA compliance and data retention policies — link to vendor privacy policy.
- French-language support and localization options for product UI and help text.
Analytics & ROI tracking
- Session analytics, conversion funnels, and event tracking for A/B tests.
- Ability to integrate with your analytics stack (GA4, Shopify, etc.) or provide exportable reports.
Proof & procurement
- Ask for demo links, sample renderings, and anonymized pilot results.
- Require written privacy/processing agreements and SLAs as part of procurement.
Vendor Comparison: What to Compare
Vendors typically fall into three families:
- In‑house SDK/API providers — deep integration, high customization, requires engineering resources.
- Platform SDKs — reusable SDKs with configurable options, still requires developer work to integrate. See head-to-head platform comparisons: tryitonme vs Ditto, tryitonme vs FittingBox.
- Link-based no-code providers — vendor-created assets delivered via shareable URLs; minimal developer involvement.
Evaluation criteria to score vendors include accuracy of face-fit, visual realism, asset fidelity, latency, compatibility, analytics, pricing, and localization. Suggested scoring rubric (1–5) can be used to compare Ease of deployment, Total cost of ownership, Fit accuracy & visual realism, Analytics & measurement, and Support & localization.
Why a No‑Code, Link‑Based Solution Often Wins for Canadian Brands
For many Canadian brands, link-based web AR try-on wins on practical grounds:
- Speed-to-market: no-code link-based solutions remove the need for SDK integration, letting brands test experiences in hours or days rather than weeks or months.
- Channel flexibility: a single shareable URL can be embedded in product pages, emails, SMS, paid social, and influencer content. See a Shopify guide: shopify guide.
- Lower upfront cost and easier A/B testing: test different creative and placement quickly without engineering sprints.
- Lower total cost of ownership: reduced developer maintenance and faster content iteration cycles.
If you need deep customization or proprietary features, an SDK may be appropriate. For pilots, though, link-based VTO often offers the quickest path to measurable insights.
Why tryitonme.com is the Right Fit for Your Business
tryitonme.com offers a link-based, zero-code virtual try-on service tailored to accessories, including eyewear, jewelry, watches, and hats. Client-provided onboarding steps:
- Purchase a 6‑month package based on the SKU quantity needed.
- Send standard product photos (e.g., front/side for eyewear).
- The tryitonme team and AI handle all AR processing.
- You receive a unique, ready-to-use try-on link for deployment in under 3 business days.
Want to see it in action? Book a Demo at tryitonme.com/contact.
tryitonme.com — Feature Spotlight
- No-code setup: upload required photos and let the tryitonme team/AI prepare assets.
- Shareable link deployment: one product link you can place on product pages, in email, SMS, social posts, or paid ads.
- Multi-category support: eyewear, jewelry, watches, hats.
- Web AR rendering: browser-based try-on that runs without app installs.
- Analytics: session tracking and basic conversion/engagement metrics — request screenshots or exportable reports.
- Fast demos and pilots for Canadian brands — request live access via tryitonme.com or the contact page.
Case Studies & Local Examples
If you have in-market pilots or Canadian clients, request anonymized case studies from vendors that include timeline, implementation steps, and measured KPIs. If vendor-supplied case data isn’t available, run a small pilot and treat the results as a benchmark for broader rollout.
Example pilot (hypothetical):
- Scope: 50 SKUs onboarded as link-based VTO assets.
- Timeline: asset creation and link delivery in under 3 business days per SKU (client-provided timeline).
- KPI examples: click-to-try rate, try-to-cart conversion, return rate for SKUs in the pilot, and average order value.
Implementation Roadmap for Canadian Brands
- Proof of concept (2–4 weeks): select 20–50 SKUs to pilot, decide channels (product pages, email, Instagram).
- Photo prep checklist: collect front and side photos for eyewear; front views for jewelry; consistent white backgrounds and scale references.
- Submit assets to vendor: upload photos and SKU metadata.
- Asset delivery: receive shareable try-on links (tryitonme cites asset turnaround in under 3 business days).
- Deploy: add links to product pages, email campaigns, and social ads.
- Training & ops: train customer service and marketing on the try-on flow and reporting.
- Monitor KPIs: run A/B tests against control SKUs for at least 2–4 weeks; use CRO resources for sample-size planning.
Pricing, Trials & Procurement Tips
Common pricing models in AR commerce include per-SKU subscriptions, per-session fees, and setup or onboarding charges. tryitonme uses a 6‑month package model based on SKU quantity. For vendor pricing comparisons see pricing guidance and optical frames pricing.
- Request a pilot or trial with a limited SKU set and clear success metrics.
- Negotiate SLAs, support hours, and French-language support if you operate nationally in Canada.
- Insist on data processing agreements and PIPEDA-aligned privacy terms.
- Ask for sample analytics exports and integration instructions for your analytics stack.
FAQs
1. Does link-based VTO require an app or SDK?
No. Link-based solutions like tryitonme are browser-based and do not require an app or SDK.
2. How accurate is the fit?
Fit accuracy depends on face-tracking quality, frame scaling, and asset fidelity. Ask vendors for sample links, calibration guidance, and technical documentation.
3. Can we deploy VTO links across web, mobile, Instagram, SMS, and email?
Yes. Shareable URLs can be placed in product pages, email, SMS, social posts, and paid ads — confirm social platform policies and creative requirements with your vendor.
4. How quickly can we launch a Canadian pilot?
tryitonme states link delivery in under 3 business days after asset submission (client‑provided). Confirm per-SKU timelines during procurement.
5. What privacy protections are recommended for Canadian customers?
Review vendor privacy policies and ensure processing meets PIPEDA expectations: consent, limited collection, secure storage, and clear retention policies.
6. Will VTO work on older devices?
Performance varies by device/browser. Ask vendors for a compatibility matrix and recommended fallbacks for older devices.
Conclusion & Strong CTA
Choosing the right eyewear virtual try on canada solution comes down to your launch timeline, available engineering resources, and the scale of your catalog. For Canadian brands that need fast, no-code pilots and easy multi-channel deployment, link-based platforms can provide a low-friction way to validate VTO’s impact. To see a live walk-through, request a demo or start a trial. Book a demo or contact tryitonme. Suggested UTM for tracking: ?utm_source=blog&utm_campaign=canada_vto.
Appendix / Assets to Include (production checklist)
- Obtain tryitonme screenshots, demo link, and any Canadian testimonials from the client.
- Request GIF/video of link flow (email → open link → try-on).
- Build a comparison table graphic (SDK/API vs platform SDK vs link-based).
- Add KPI chart for any vendor-supplied case study (clearly sourced).
- Ensure image alt text uses: web ar try on; eyewear virtual try on canada.
- Request French-language UI screenshots if available.
- Ask tryitonme for analytics screenshots or export samples to include in the Feature Spotlight.
Notes & Next Steps
- Label any vendor-provided claims (onboarding steps, turnaround times) as client-supplied in the live post.
- If you want, this draft can be revised to include tryitonme screenshots, Canadian client case studies, or a side-by-side comparison table once those assets are provided.