Eyewear Onboarding
Glasses Image Specifications
Everything we need from you to build your virtual try-on. Send photos that follow this guide and your catalogue can be live in 48 hours — no 3D scans, no special photography rig, no developer.
2 angles per frame
500px minimum
JPG or PNG
1 folder per SKU
01
Product Angle
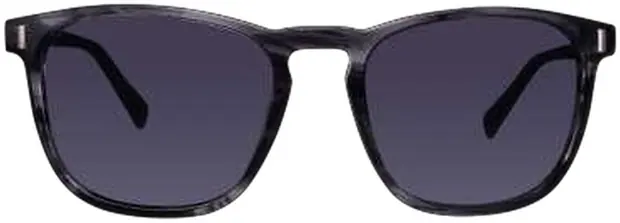
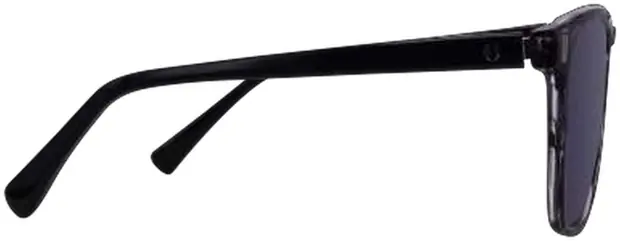
We need two shots of every frame: a straight-on front view and a true 90° side profile. These two angles are what let us map the frame accurately onto a real face.
✕
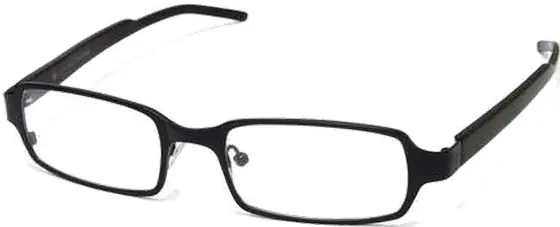
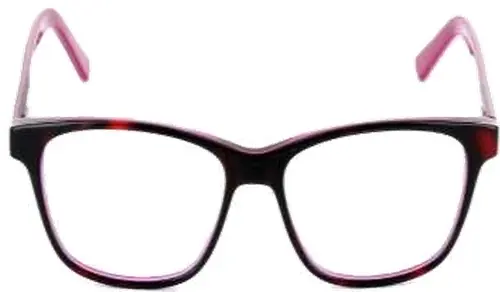
What we can’t use
Angled or tilted shots don’t give us a reliable outline of the frame, so the try-on won’t sit correctly on the face.
02
Format & Resolution
Higher resolution always gives a better try-on. Send the largest version you have — we’ll handle the optimisation.
500 × 500 px
Minimum size
The smallest we can work with. As high resolution as possible is always preferred.
JPG / PNG
File format
Either works. PNG is useful if your images already have the background removed.
3–5 MB
Ideal raw size
Raw images in this range give us the most detail to work from.
03
Folder Name & File Naming
Keep each product in its own folder, named with that product’s SKU. This is how we match every image back to the right item in your catalogue.
Your SKU is what links the photo to the product page and to the try-on link we generate for it. If the folder names match your catalogue exactly, onboarding is fully automated on our side.
One folder per frame. Both the front and the side image for a frame live together in that frame’s SKU folder.
eyewear-images/
├─ KCM002/
│ ├─ KCM002-front.jpg
│ └─ KCM002-side.jpg
├─ PMI008/
│ ├─ PMI008-front.jpg
│ └─ PMI008-side.jpg
└─ PMI009/
├─ PMI009-front.jpg
└─ PMI009-side.jpg
├─ KCM002/
│ ├─ KCM002-front.jpg
│ └─ KCM002-side.jpg
├─ PMI008/
│ ├─ PMI008-front.jpg
│ └─ PMI008-side.jpg
└─ PMI009/
├─ PMI009-front.jpg
└─ PMI009-side.jpg
04
Background Colour
A white or single-colour background is preferred — but it isn’t mandatory. If your existing product photography sits on a plain backdrop, that’s already good enough to send.
Best
Plain white
Clean separation between the frame and the backdrop — the fastest for us to process.
Fine
Single colour
Any flat, consistent background colour works well.
OK
Busy background
Not ideal, and not a blocker. Send what you have and we’ll take a look.
✓
Before you send
A quick pass through this list means we can start building the moment your files land.
Front and 90° side image for every frame
Every image at least 500 × 500 pixels
Saved as JPG or PNG
One folder per product, named by SKU
No angled or tilted shots in the set
Raw files kept as large as possible
Questions about your images?
Send us a sample before you prepare the whole catalogue — we’ll check it against this spec and tell you exactly what to adjust.
Email hello@tryitonme.comTypical turnaround once approved images are received: 48 hours to live try-on links.