Mobile Performance Sunglasses Try On: How to Optimize Load Time, Memory & Core Web Vitals
Quick Summary
- Minimize initial payload (shell & low-res assets) and defer AR/runtime to user intent.
- Target LCP <2.5s (ideal ~1.5–2s throttled 4G), INP <200ms, CLS <0.1.
- Compress GLB (Draco) & textures (KTX2/Basis), cap DPR on low devices, and free GL resources on close.
- Use preconnect/prefetch on hover + click-to-open modal for link-based VTO (e.g., tryitonme.com).
Introduction — why mobile performance for sunglasses try-on matters
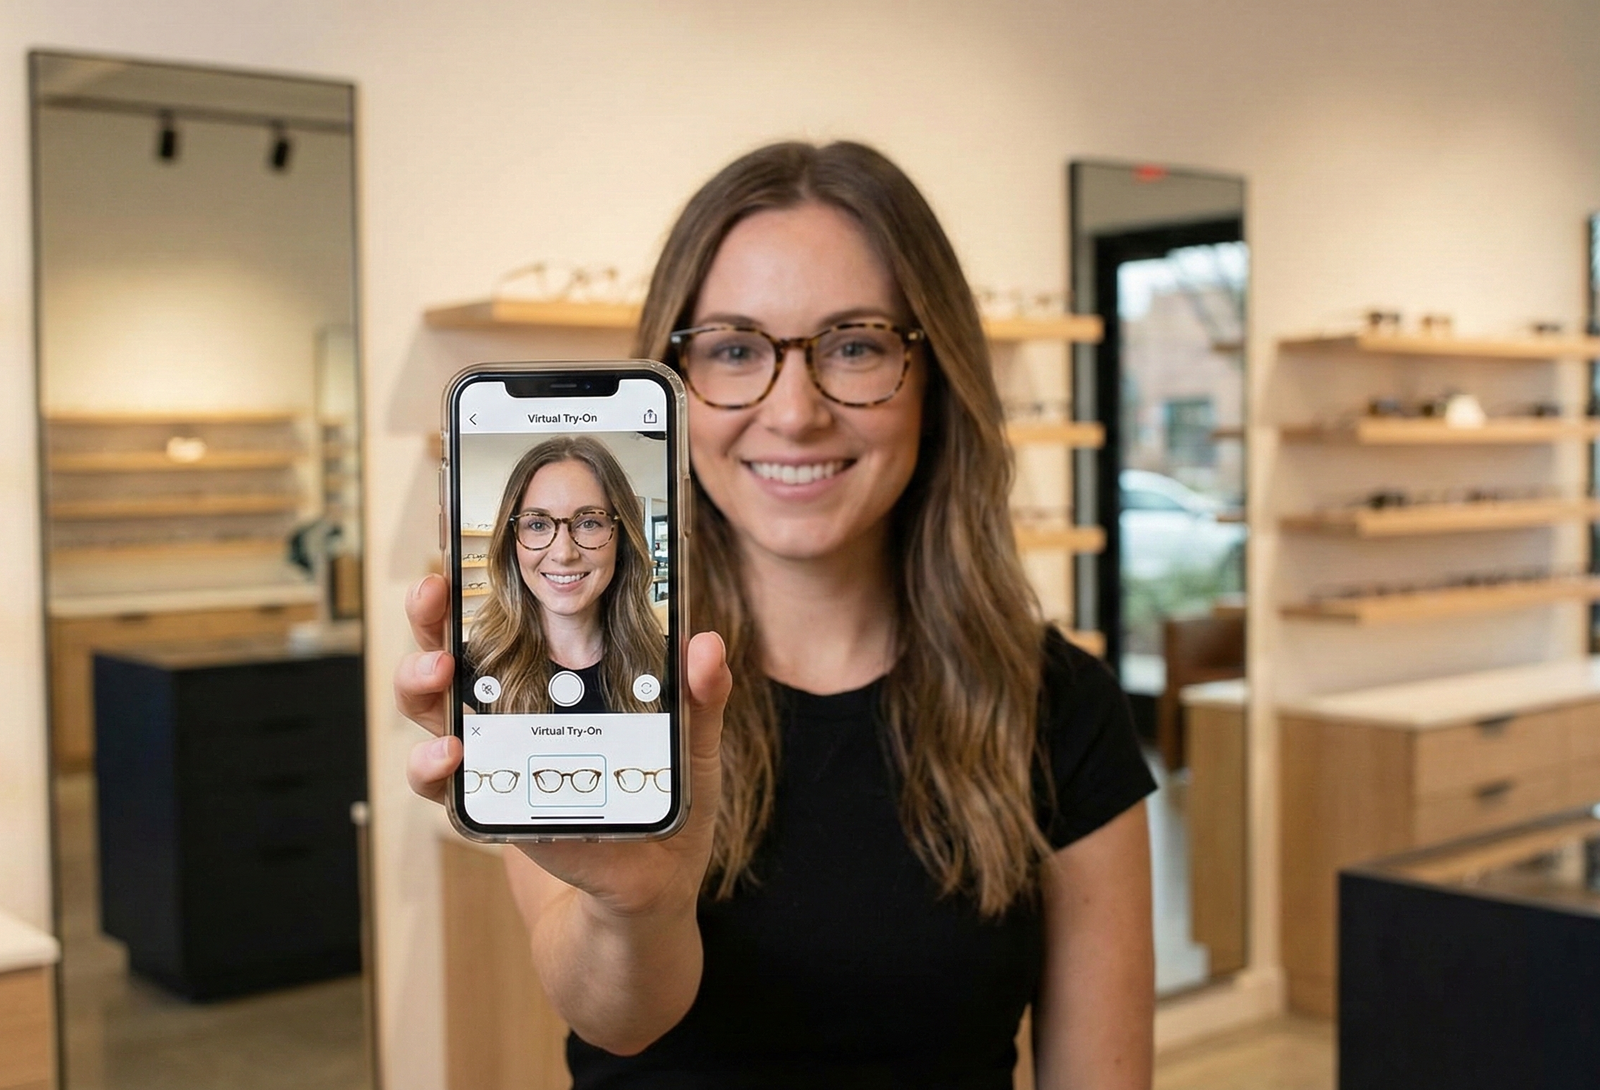
You’re building a sunglasses virtual try-on and your users are mostly on phones. See the practical guide at sunglasses virtual try-on guide. Mobile performance for sunglasses try on is not a nice-to-have — it’s the difference between a quick engagement and an abandoned session. Fast first paint, responsive camera controls, and a stable layout directly affect whether people complete permission prompts, try frames on, and add to cart.
Core Web Vitals (LCP, INP, CLS) are how browsers and search engines quantify those user-facing properties — see Google’s Core Web Vitals overview. For a low-friction, zero-code approach you can deploy quickly, tryitonme.com provides a link-based VTO that you can optimize with preconnect/prefetch and click-to-open patterns rather than integrating an SDK.
What “good” performance looks like for a try-on
Map metrics to the try-on experience and give your team clear targets so performance work isn’t guesswork. See practical mobile guidance at cermin.id/mobile-performance-blue-light-glasses.
- LCP (Largest Contentful Paint): the first visible try-on canvas, hero image, or product surface. Target: under 2.5s (aim for ~1.5–2s on throttled 4G). See thresholds at Core Web Vitals and practical guidance at web.dev top CWV.
- INP (Interaction to Next Paint): tap responsiveness for camera permission, controls, and switching frames. Target: under 200ms. (See Core Web Vitals overview.)
- CLS (Cumulative Layout Shift): unexpected movement when the camera/canvas or overlays appear. Target: under 0.1. Guidance: web.dev CWV.
Practical mobile budget: first meaningful paint ~1.5–2s on a throttled 4G profile; keep initial interactive shell small so the try-on feels instant.
Common bottlenecks for mobile try-on experiences
Most mobile try-on failures come from a handful of predictable problems. Check these first: vendor checklist.
- Oversized GLB/glTF assets and uncompressed geometry.
- Large or unnecessary textures that inflate downloads and GPU memory.
- Excessive draw calls and high shader complexity.
- Blocking or heavy third-party JavaScript (analytics, tag managers, AR libs). See third-party JS recommendations.
- Layout shifts from late-inserted camera/canvas elements.
- Memory spikes on low-end Android devices leading to freezes or crashes.
- Network latency and poor caching for model/texture delivery.
WebGL performance try on — keep rendering smooth on mobile
WebGL-heavy scenes require tuning at multiple layers. Here are practical, engineer-friendly strategies (and targets) to keep frame time low and memory stable.
Asset-level optimizations (GLB, Draco, KTX2/Basis)
- Use binary GLB (glTF) as the canonical shipping format: glTF.
- Compress geometry with Draco: Draco.
- Compress textures with KTX2 / Basis Universal: Basis/KTX2.
- Texture sizing: default sunglass textures at 512–1024px; avoid larger unless required.
- Mobile asset target: aim for <2 MB per product asset where possible (device-dependent).
Geometry & draw-call reductions
- Merge static geometry and reduce material counts.
- Use instancing for repeated parts (screws, logos).
- Target fewer than ~50 draw calls for a typical accessory scene to limit GPU/CPU overhead.
- Minimize transparent or overdraw-heavy surfaces on mobile.
Shaders & compile strategies
- Reuse shader programs; avoid compiling many variants at startup.
- Defer expensive shader compilation until user intent (compile-on-demand). Practical reference: async shader best practices.
- Use async compile and warm-up only the shaders the first interaction needs.
Rendering & devicePixelRatio heuristics
- Cap devicePixelRatio (DPR) on low-end devices to reduce render buffer sizes — guidance: avoid high DPR unless needed.
- Choose DPR heuristics: full DPR for high-end phones, 0.75–1.0 for mid/low-end.
- Target per-frame budgets of 16–33ms depending on target frame rate.
Memory lifecycle & disposal
- Explicitly free GL resources on modal/dialog close: call gl.deleteTexture(), gl.deleteBuffer(), etc. See MDN guidance: MDN WebGL resource guidance.
- Limit resident textures on mobile to a small set (fewer than ~6).
- Use createImageBitmap() when it helps upload efficiency: createImageBitmap.
WebAR optimization — make camera feel instant without overloading the page
If you offer WebAR, you should not load a full AR runtime on every page. Reference: cermin.id AR RFP.
- Defer AR runtimes until user intent (click-to-try). This reduces unnecessary load from users who just browse.
- Use feature detection and adapt: prefer WebXR when supported, otherwise fall back to 2D overlay. Background: WebXR Device API.
- Keep the AR scene graph minimal and adapt frame rate for low-power devices.
- Pause world mapping/tracking when the page is backgrounded to save CPU/GPU cycles.
- Use third-party script deferral best practices: third-party JS guidance.
Lightweight tracking & fallback strategies
- Detect capabilities with feature checks (WebXR / getUserMedia) and provide a 2D composite fallback when unavailable.
- Serve a server-side generated 2D preview or a canvas-based virtual try-on if camera access is blocked.
- This preserves conversion paths without forcing heavy AR workloads.
Progressive loading & progressive enhancement
Make the experience feel instantaneous by staging assets in a predictable way.
Staged loading pattern
- Placeholder (hero image or static 2D depiction)
- Minimal try-on shell (permission prompt, small canvas)
- Low-resolution GLB / low-res textures
- Full-resolution textures and lighting
- Optional AR enhancements and shader effects
Tactics
- Use streaming glTF or LOD tiers to load progressively.
- Use requestIdleCallback() for non-critical prefetching: requestIdleCallback.
- Use IntersectionObserver to defer camera initialization until the component is likely visible.
- Use preconnect for critical domains and prefetch only after engagement (hover/focus): preconnect & dns-prefetch and see 2D vs 3D try-on.
Network strategies & caching
Minimize round trips and optimize cacheability:
- Serve assets via a CDN and set immutable cache headers for versioned GLB/KTX2 files: serve static assets with caching.
- Use rel=”preconnect” to warm DNS/TCP/TLS for the try-on domain (e.g., tryitonme.com): preconnect guide.
- Prefetch manifests/assets on hover/focus rather than on initial load.
- Use careful preload: only the minimal boot asset should be preloaded to protect LCP.
UX & fallback patterns
- Reserve explicit layout space for the camera or canvas to avoid layout shifts (see CLS guidance).
- Use a Try in AR / Try On CTA that loads AR or the link-based VTO only after user action.
- Provide an off-ramp when device struggles (lower-quality model, 2D fallback).
- Explain camera permissions up-front to reduce drop-offs.
Why tryitonme.com is the Right Fit for Your Business
tryitonme.com provides a pragmatic, zero-code route to a production VTO that you can optimize with the patterns above.
- Zero-code, link-based deployment — no SDK or API integration required.
- Fast time-to-market — onboarding that produces a ready-to-use try-on link in under ~3 business days. See pricing & process: cermin.id pricing.
- Mobile-focused accessory accuracy — the platform is tailored for accessories (eyewear, jewelry, hats, watches).
- Easy to integrate and optimize — works with preconnect/prefetch and click-to-open progressive patterns.
Book a Demo at tryitonme.com.
Integrating and optimizing a link-based VTO (practical patterns)
Use this conservative integration flow to keep your product page light while making try-on available instantly on demand.
Recommended flow
- Add a rel=preconnect to the try-on host on primary page load.
- Prefetch a small manifest on hover/focus (not on page view).
- Use a click-to-open modal that dynamically imports the try-on runtime.
Example (preconnect & prefetch)
<link rel="preconnect" href="https://tryitonme.com">
<link rel="prefetch" href="https://tryitonme.com/manifest.json" as="fetch" crossorigin>
JS pseudocode
Pattern summary (pointerenter prefetch + click dynamic import):
// On pointerenter: requestIdleCallback(() => fetch('/tryitonme/manifest.json'))
// On click: const mod = await import('/vto-shell.js'); mod.open({ source: 'https://tryitonme.com/your-link' })
This keeps the main thread and LCP protected, only fetching heavier runtime when the user expresses intent.
Measuring and testing (lab + field)
Combine lab tools and real-user monitoring to validate improvements.
- Lab: Lighthouse for audits and WebPageTest for waterfalls and filmstrips (Lighthouse).
- Field: Web Vitals JS for RUM: web-vitals and Search Console Core Web Vitals: Search Console CWV.
- Profile memory and main-thread with Chrome DevTools to catch leaks and long tasks.
- Track: LCP, INP, CLS, time-to-first-frame (camera), memory usage by device class, and try-on → add-to-cart conversion.
Testing matrix suggestions
- Cold vs. prefetched loads
- Fast vs throttled networks (4G)
- High-end vs low-end Android devices
- Native AR vs fallback overlay
Performance budget & launch checklist
Concrete budgets you can enforce in code reviews:
- Initial try-on shell: < 200 KB compressed
- Initial interactive assets: 1–2 MB total
- Product asset: < 2 MB where practical
- Texture sizes: 512–1024px
- Draw calls: < 50
- Resident textures: < 6
Pre-launch checklist
- Reserve layout space for canvas/camera
- Add rel=preconnect to try-on domain
- Prefetch manifest on hover/focus, not on page view
- Defer AR libraries until click
- Compress geometry (Draco) and textures (KTX2/Basis)
- Implement WebGL disposal on close
- Provide a 2D fallback
- Run Lighthouse, WebPageTest, and RUM checks
Example improvements — hypothetical before & after
Example: before optimizations a product page had a 6s LCP and 7 MB of initial assets. After compressing geometry, introducing staged loading, and using preconnect/prefetch, the initial payload is reduced to ~2 MB and LCP falls to ~1.8s. That reduction typically increases try-on engagement, lowers bounce, and improves conversion odds.
Appendix — code snippets & config recommendations
Preconnect & prefetch
<link rel="preconnect" href="https://tryitonme.com">
<link rel="prefetch" href="https://tryitonme.com/manifest.json" as="fetch" crossorigin>
Hover-prefetch + click-to-open pseudocode
const btn = document.querySelector('[data-tryon]');
let prefetched = false;
btn.addEventListener('pointerenter', () => {
  if (prefetched) return;
  prefetched = true;
  requestIdleCallback(() => fetch('https://tryitonme.com/manifest.json', {mode: 'cors'}));
});
btn.addEventListener('click', async () => {
  const mod = await import('/vto-shell.js');
  mod.open({ url: 'https://tryitonme.com/your-link' });
});
WebGL disposal snippet
function disposeScene(gl, textures = [], buffers = []) {
  textures.forEach(t => gl.deleteTexture(t));
  buffers.forEach(b => gl.deleteBuffer(b));
}
Conclusion & call-to-action
If you’re optimizing a mobile sunglasses try-on, focus on three high-impact moves: minimize the first view/LCP, defer heavy AR and rendering until the user signals intent, and provide a stable 2D/low-fidelity fallback for constrained devices. A link-based, zero-code VTO like tryitonme.com lets you apply these progressive-loading and preconnect patterns without rebuilding your stack — try the demo and see how a ready-to-use link can speed your time-to-market: tryitonme.com.
Further reading and tools referenced
FAQ
1. What is the minimum initial shell size you recommend?
Target an initial try-on shell under 200 KB compressed. Keep only the minimal HTML/CSS/JS required to show a placeholder and permission prompt; defer heavy assets until user intent.
2. How do I handle devices with low memory or older Android versions?
Provide a lower-fidelity model or a 2D/canvas fallback, cap DPR, limit resident textures (<6), free GL resources on close, and include an explicit off-ramp CTA that switches to a lighter experience.
3. When should I prefetch manifests vs. preload assets?
Prefetch manifests on hover/focus to discover required assets without blocking LCP. Only preload the minimal boot asset necessary for the try-on shell; avoid preloading large models or textures on initial view.
4. Are there specific metrics or tools to track in production?
Yes — use RUM via web-vitals to track LCP, INP, CLS, time-to-first-frame (camera), and memory usage by device class. Complement with Lighthouse and WebPageTest for lab checks.
5. Can I use a link-based VTO without SDK integration?
Yes. Link-based VTOs such as tryitonme.com provide zero-code deployment. Use preconnect/prefetch + click-to-open patterns to keep your page light while making try-on available on demand.