2D vs 3D Try On Bracelets: When to use 2D Compositing vs 3D Models
- 2D try on is fast and low-cost — ideal for thin, flat, or high-SKU catalogs.
- 3D try on delivers superior realism for reflective, articulated, or high-AOV bracelets.
- Use a hybrid: roll out 2D broadly, convert winners to 3D and A/B test.
Introduction
2d vs 3d try on bracelets is a choice brands must make when they want shoppers to visualize wristwear online. This guide helps you decide which is better — 2d try on or 3d try on — for your catalog by weighing speed, cost, realism, and measurement. If you want to jump straight in, try a live demo of a shareable, link-based try-on.
What is 2D try on?
Definition and everyday UX
2D try on places a flat or pre-rendered image of a bracelet over a photo or camera feed of a wrist. It’s fundamentally image compositing: matching scale, rotation, and basic lighting so the overlay looks like it belongs on the wrist. For many bracelets—thin bangles, flat chains, or plated cuffs—2D overlays give shoppers a fast, believable preview without heavy engineering. For a technical overview of image compositing, see the image compositing article.
How 2D try on works (technical overview)
- Detection: Hand or wrist detection locates the placement region (example: Google’s ML Kit hand-detection).
- Placement & transform: A 2D asset is scaled, rotated and skewed to match wrist perspective.
- Blending & lighting: Color adjustments, soft shadows, and simple shading help the bracelet blend into the scene.
- Interaction: Typical UX includes snap-to-wrist overlays, size sliders, and a few preset angles.
Pros and cons (at-a-glance)
Pros:
- Fast to produce and deploy
- Low per-SKU production cost
- Works well on low-power devices and social channels
- Easy to scale for large catalogs
Cons:
- Limited occlusion handling (item appearing behind fingers)
- Poor rotation fidelity for complex geometry
- Less convincing for reflective metals and articulated charms
On the web, compositing often runs inside an image/canvas layer or a lightweight WebXR overlay for cross-device behavior.
What is 3D try on?
Definition and everyday UX
3D try on uses true 3D models rendered in real time on top of the wrist, tracking pose and lighting to simulate depth, reflection, and motion. For bracelets with complex geometry, reflective finishes, or interactive parts (charms, hinged clasps), 3D gives noticeably richer realism: accurate occlusion, rotations, and physically-based materials. Mobile AR toolkits such as Apple’s ARKit and Google’s ARCore are common foundations.
How 3D try on works (technical overview)
- Asset pipeline: Modeling → UV unwrapping → texturing → material/shader setup → LOD and polygon optimization for runtime.
- Runtime: A WebGL or WebXR rendering context draws the asset, applies materials, and maps lighting to the scene (see WebGL basics).
- Tracking & realism: Pose estimation aligns the 3D model to wrist movement; occlusion and depth cues help it sit naturally behind fingers when appropriate.
3D adds production time and cost (modeling, rigging, shaders), and is more compute-intensive on-device—tradeoffs that can be mitigated by optimization and selective use.
Head-to-head comparison & decision framework
Use these axes to evaluate which approach fits your goals. If you’re asking which is better 2d 3d try on, consider the following criteria:
Key criteria
- Speed to market
- 2D try on: Fast — can be produced quickly for many SKUs.
- 3D try on: Slower — asset modeling takes longer.
- Cost per SKU
- 2D: Lower (photo-based or 2D render assets).
- 3D: Higher (modeling, texturing, optimization). See illustrative pricing for bracelet VTO: bracelets virtual try-on pricing.
- Realism and trust
- 2D: Good for simple designs.
- 3D: Superior for reflective metals, complex geometry, and motion.
- Occlusion & fit communication
- 2D: Basic or manual masking.
- 3D: True depth handling and occlusion.
- Interactivity & customization
- 2D: Limited — color swaps, simple size controls.
- 3D: Strong — materials, customization, rotate, animate.
- Mobile & social performance
- 2D: Very lightweight; better for low-compute devices and social ad flows.
- 3D: Heavier; needs optimization for smooth performance.
- Scalability
- 2D: Easier for large SKU catalogs.
- 3D: Resource-intensive—best focused on high-value SKUs.
Practical decision checklist
Use this checklist to pick a path (or both):
Use 2D try on when:
- You need rapid validation or a lightweight MVP.
- Budget or production capacity is limited.
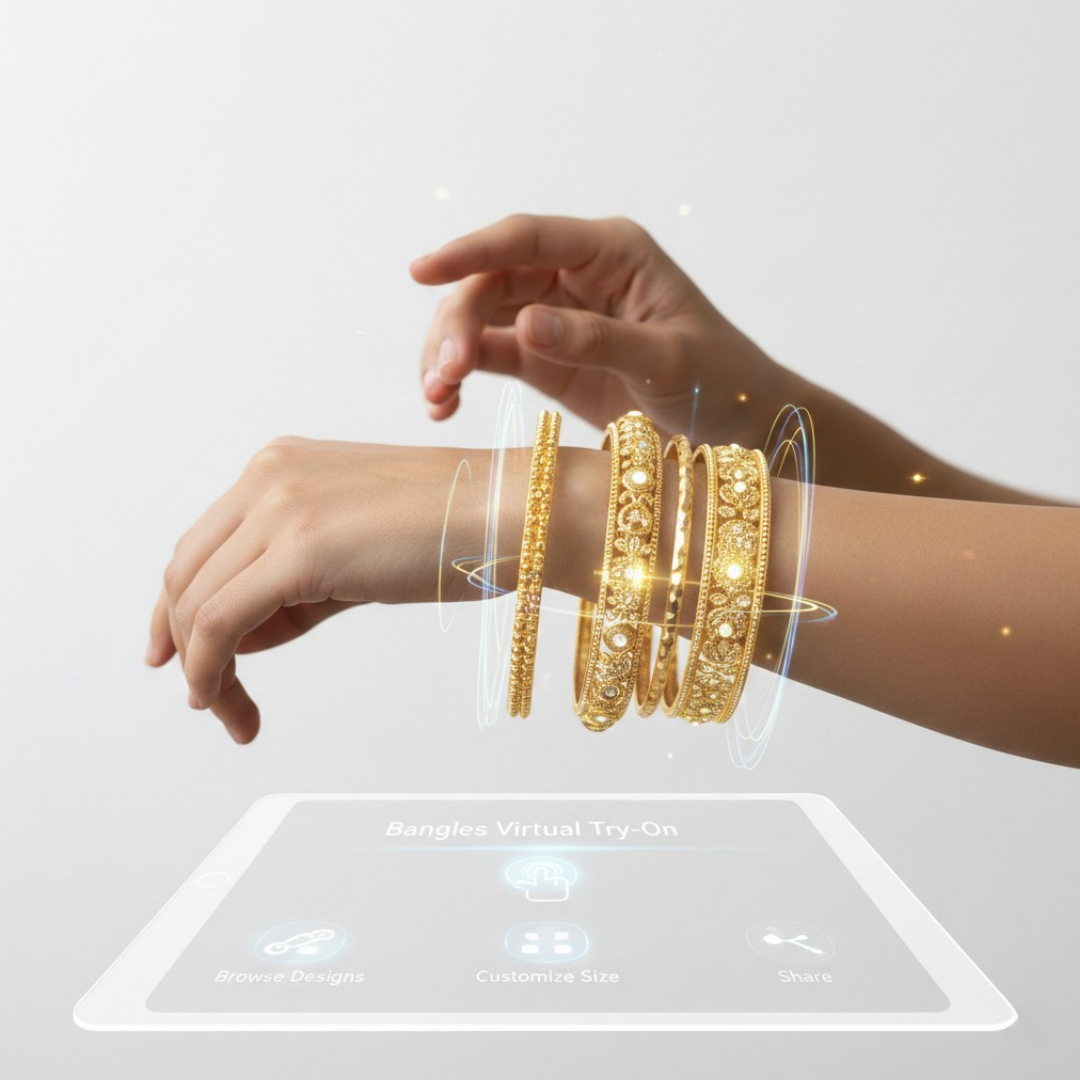
- The bracelet is thin, flat, or non-reflective (e.g., simple bangles). Example: 2D for bangles
- You have a large SKU count and want broad coverage quickly.
- You’re prioritizing social ads or low-latency web flows.
Use 3D try on when:
- The product is high-value and appearance drives AOV.
- Geometry is complex, reflective, or articulated (charms, hinges).
- You need accurate occlusion, rotation, or fit simulation.
- You plan customizations (metal, gemstones, engravings) that benefit from real-time visuals.
Hybrid path (recommended)
- Phase 1: Roll out 2D try on across the full catalog to collect signals.
- Phase 2: Analyze engagement and sales lift; pick top-performing SKUs.
- Phase 3: Convert winners to 3D models and A/B test 2D vs 3D on those items (see Optimizely’s A/B testing guide).
The hybrid approach limits heavy 3D investments to where ROI is most likely.
Why bracelets are a special case
- Curved surface: Wrist curvature affects placement and perceived fit.
- Rotation & drift: Bracelets can rotate around the wrist—tracking needs to handle yaw.
- Clasps & hinges: Articulation changes how the bracelet sits.
- Stacking: Multiple bracelets overlap and occlude each other.
- Reflective materials: Metals create specular highlights that are hard to fake in 2D.
Product recommendations by type (illustrative): thin bangles and simple chains → strong candidate for 2D; chunky, reflective, articulated, or charm-heavy bracelets → consider 3D. Any physiological or biomechanical claims should be verified with UX research or lab data.
Implementation & deployment
A rapid playbook
- Design sprint (2–5 days): define goals, select SKUs, and build prototypes (see why design sprints work).
- Roll out 2D try on across the catalog (1–2 weeks depending on SKU count) — instrument analytics.
- Run an A/B test on the best-performing SKUs: 2D vs 3D (3–6 weeks to collect meaningful data).
- If 3D wins on selected SKUs, prioritize modeling and scale.
KPIs to instrument
- Conversion rate and add-to-cart rate
- Time on product page and engagement with try-on
- Share/CTR from try-on links and return rate
- Average order value (AOV) and asset production cost vs incremental revenue
- Use uplift and payback period to guide expansion (see KPI definitions).
Deployment options & integrations
Common routes:
- SDKs / APIs: deep control, more engineering time.
- In-house: ownership but higher time & cost.
- No-code, link-based VTO: shareable links work across web, mobile, and social without SDK installs or deployment cycles; this shortens test cycles and campaign launches. See a vendor checklist: bracelets vendor checklist.
For device capability guidance and cross-platform compatibility see the WebXR spec. For mobile performance considerations check ARKit’s guidance under Apple’s developer docs.
Visual assets & content plan for 2d vs 3d try on bracelets
Recommended visuals and captions (use these on product pages, marketing, and demo flows):
- Side-by-side comparison image: “2D vs 3D try on — same bracelet, different approaches.” Alt: “Side-by-side comparison of 2D try on and 3D try on for a bracelet on a wrist.”
- GIF/video: short 8–12s demo showing a user tapping a shareable link and trying a bracelet (use the tryitonme demo as an example).
- Decision tree graphic: “Which is better 2D or 3D for your bracelet?” (use this guide’s checklist).
- Annotated screenshots: tryitonme link flows — caption with CTA linking to demo.
Accessibility captions and alt text should include the primary keyword naturally in image captions and H2s where relevant.
Why tryitonme.com & next steps
Highlights:
- Zero-code, link-based deployment — no SDK or API integration required.
- Fast setup and experimentation workflow; demo and onboarding info: demo and pricing.
- Built for accessories—workflows tuned for high-SKU catalogs and scalable from 2D compositing to focused 3D highlights.
Turnaround claims (example: “try-on link delivered in under 3 business days”) should be confirmed with the product team at product@tryitonme.com.
Deliverables & next steps for content team
- Publish-ready draft with recommended visuals and captions.
- Annotated image assets (comparison, GIF, decision tree, screenshots).
- Internal link map: demo, features, pricing, bracelets pricing, bracelets RFP, vendor checklist.
- Short test plan to A/B 2D vs 3D: goals, sample size guidance, KPI list.
Technical & editorial production notes
- Target length: 1,200–1,800 words.
- Structure: H1 + 6–8 H2s; include H3s where helpful.
- Tone: practical, semi-technical, decision-focused for product owners, marketers, and engineers.
- Verify platform claims with the tryitonme product team before publishing.
Conclusion
Deciding 2d vs 3d try on bracelets depends on SKU mix, budget, and which products drive AOV. Start with broad 2D coverage to collect signals, then invest 3D where it demonstrably improves conversion or reduces returns. For a low-friction way to experiment, book a demo and get a shareable try-on link: tryitonme demo.
FAQ
1. Which is faster to deploy: 2D or 3D?
2D try on is faster to produce and deploy, especially for large catalogs. 3D requires modeling and optimization, so it takes longer per SKU.
2. Can I mix 2D and 3D across my catalog?
Yes. A hybrid approach—wide 2D rollout plus targeted 3D for top SKUs—is recommended to balance speed, cost, and ROI.
3. Do I need an SDK to run a try-on experience?
Not necessarily. No-code, link-based try-on removes the need for SDK integration and is useful for marketing, social, and quick tests.
4. How do I measure whether 3D is worth the cost?
Instrument KPIs such as conversion lift, add-to-cart, time on page, return rate, and AOV. Run A/B tests on representative SKUs and compute payback period.
5. What are common pitfalls with bracelet try-on?
Pitfalls include poor occlusion handling in 2D, unrealistic reflections, not testing on target devices, and skipping accessibility and alt text for visuals.