 Sunglasses Virtual Try On: How It Works, Benefits, and Quick No‑Code Setup
 Sunglasses Virtual Try On: How It Works, Benefits, and Quick No‑Code Setup
- An overview of AR technology that overlays frames onto a user’s face via camera or photo upload.
- Quick comparison: 2D overlay (fast) vs. 3D modeling (more realistic) vs. PBR (most realistic).
- A no-code link-based path (tryitonme.com) for rapid launch without engineering.
- A launch checklist, metrics to track, and mitigating common mistakes.
Sunglasses virtual try on gives your customers a way to preview frames on their face using a camera or uploaded photo — without visiting a store. This post walks e‑commerce and product teams through what the technology is, how it works, UX best practices, channels where it delivers value, and a fast no‑code path to launch using tryitonme.com. You’ll get practical checklists, common pitfalls and a simple implementation flow so you can evaluate or deploy try‑on quickly.
what is virtual try on for sunglasses
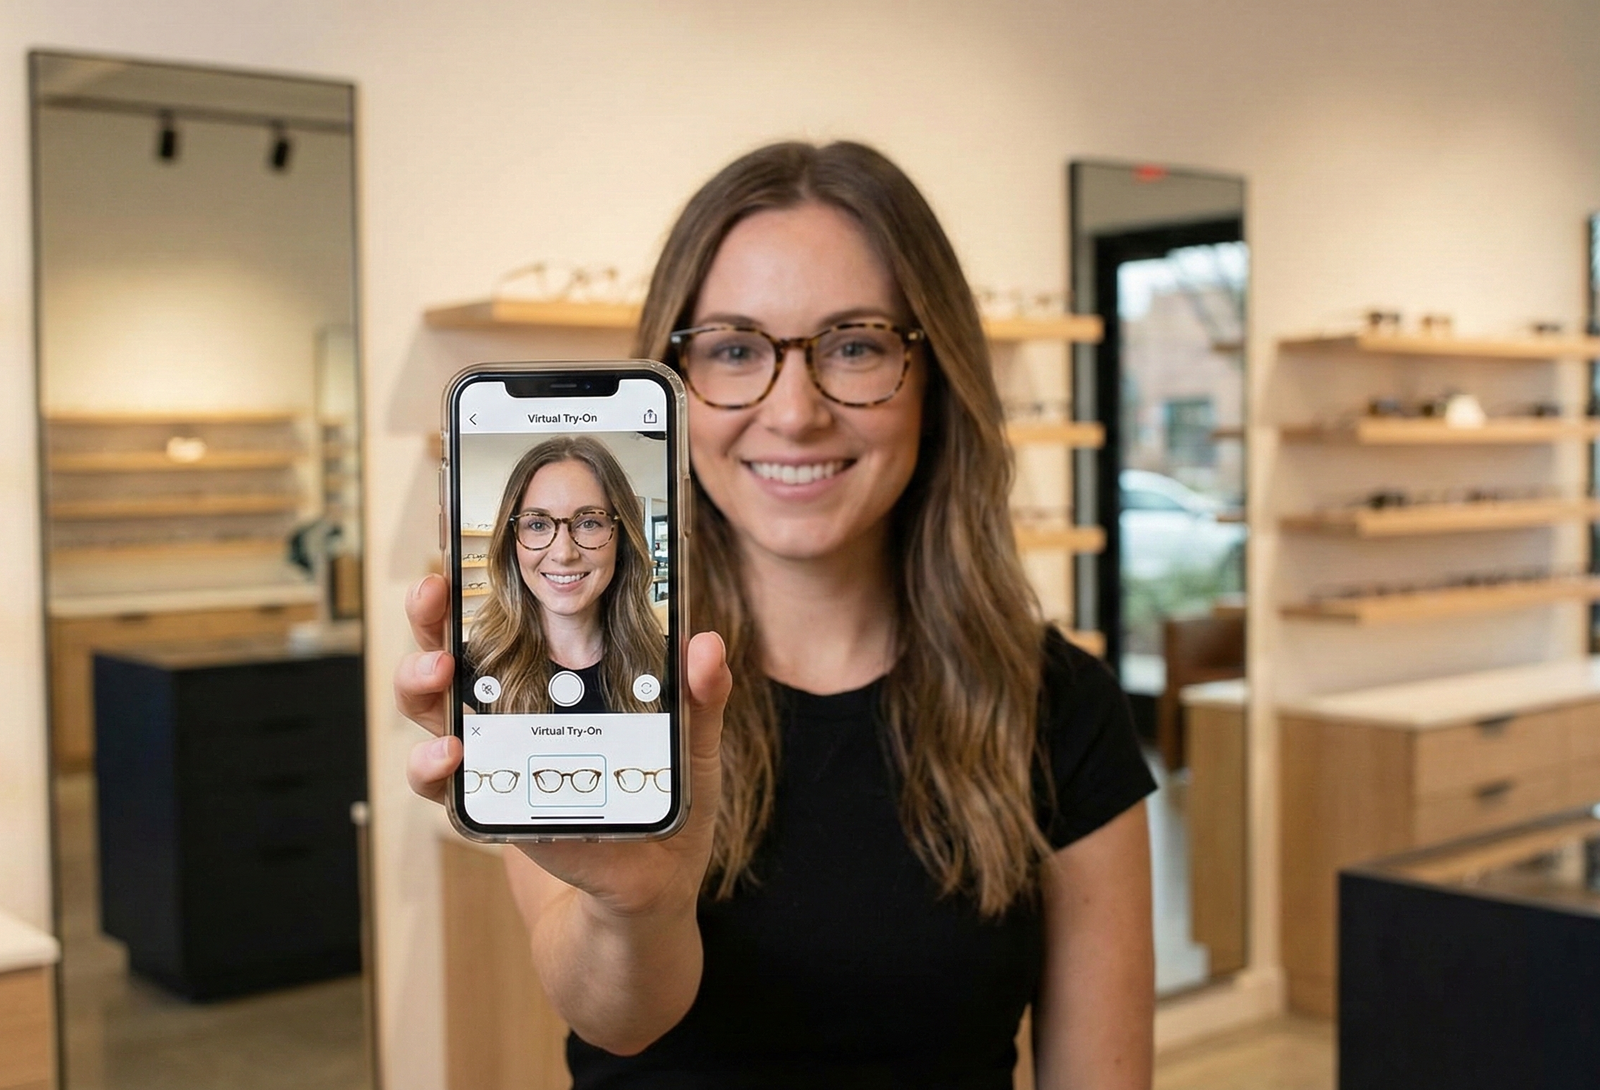
Virtual try‑on for sunglasses is an online feature that overlays eyewear onto a shopper’s face in real time (camera) or on a still image. Common modes include:
- Live camera AR: the user grants camera access and the browser or app tracks facial landmarks to place glasses.
- Photo upload: the shopper uploads a selfie and the system fits a frame to that image.
- 3D model preview: the product is shown as an interactive 3D object the user can rotate (often paired with face‑based AR).
sunglasses ar try on
At a high level, sunglasses AR try on relies on camera input, computer vision to detect facial features, and rendering that aligns the frame with the face. For browser AR basics see the WebXR Device API at MDN and for face‑mesh/tooling see MediaPipe face mesh.
Key components (face detection, landmark tracking, rendering, scale mapping)
- Face detection: locates the face region so the system knows where to start overlaying eyewear.
- Landmark tracking: maps points like eye corners, nose bridge and temples so frames sit in the right spot (see MediaPipe face mesh).
- Rendering engine: draws the frame (2D overlay or 3D model) and handles occlusion so lenses and arms look natural.
- Scale and fit mapping: converts pixel distances to real‑world scale so a frame appears the correct size — see guides on frame fit and pupillary distance.
- Core browser APIs such as getUserMedia enable camera access.
2D overlay vs 3D model vs physics‑based rendering
Choose based on your UX goals: if you need a fast, cross‑channel solution, lighter overlays or optimized 3D are often the best starting point. For a vendor comparison and tradeoffs see 2D vs 3D try‑on for sunglasses.
- 2D overlay: fastest to implement and light on resources; best for simple frame previews but can feel flat.
- 3D model: more realistic with depth and rotation; heavier assets but higher perceived accuracy.
- Physics‑based / PBR rendering: adds realistic materials and lighting; highest realism and cost/performance tradeoffs.
Benefits for customers and brands
sunglasses virtual try on — Customer benefits
- Faster decision making: shoppers can see how frames look without trying physically.
- Reduced anxiety: easier to assess fit and style before buying.
- Shareability: screenshots or demos let customers get feedback from friends.
Business benefits
- Improved product discovery: interactive previews can increase shopper engagement.
- Lower friction across channels: shareable links and social‑ready assets make it easy to promote try‑on.
- Reduced operational burden: digital try‑on can complement in‑store fittings and returns processes.
(If you want metrics tied to ROI, pair your pilot with analytics to measure conversion and returns for your catalog.) See a related ROI guide: ROI for sunglasses virtual try‑on.
sunglasses online try on
A link‑based try‑on can be used across many touchpoints:
- Product detail pages (PDP) and quick‑view modals
- Social posts and stories — shareable links for organic and paid social
- Paid ads that open directly to the try‑on experience
- Email and SMS campaigns with UTM‑tagged links
- Influencer posts driving traffic directly into the try‑on URL
Example use cases: a hero banner “Try on now” on PDPs; an abandoned‑cart email inviting customers to try alternate frames; influencer content driving traffic directly into the try‑on URL.
UX and design considerations
Good UX reduces drop‑off and increases usefulness. Keep flows short, clear, and forgiving.
Onboarding & permission flow
- Use friendly microcopy: “We’ll use your camera to place the sunglasses — no images are stored unless you choose to save or share.”
- Offer a clear fallback: “Don’t want to use camera? Upload a selfie.”
- Provide a single‑tap enable button and a short visual tutorial so users know how to position their face.
Visual & interaction design (scale, lighting tips, guidance overlays)
- Show scale indicators and a model comparison photo to set expectations.
- Offer lighting tips: “Move to a well‑lit area” or an on‑screen lighting icon.
- Include screenshot and share controls so users can save and send looks.
- Dos and don’ts: provide upload fallback, avoid requiring account creation, and show placement guides.
Implementation options: custom SDK/API vs no‑code link‑based
– Custom SDK/API: offers deep integration and customization, at higher development and maintenance cost. Best when you need embedded controls or full in‑app experiences. See a vendor checklist and RFP template: vendor checklist, RFP guide.
– No‑code link‑based (SaaS): fastest to launch, zero engineering required for front‑end teams, and easily distributed across web, mobile, and social. Ideal for marketing pilots and quick time‑to‑market.
Why tryitonme.com is the Right Fit for Your Business
- Zero‑code, link‑based deployment — no SDK or API required.
- Fast turnaround and minimal effort from your team.
- Specialized accuracy for accessory VTO (eyewear, jewelry, watches, hats).
- Cross‑channel shareable link works on web, mobile, and social.
Visit tryitonme.com for details and to book a demo.
Quick start: How to add sunglasses virtual try on with tryitonme.com
Checklist — launch in a few days:
- Choose a 6‑month package at tryitonme.com.
- Gather product photos (front and side for eyewear).
- Upload photos to the onboarding portal or send to your contact.
- Receive your unique try‑on link in under 3 business days.
- Add the link to your PDP, social posts, ads, or emails (use UTM tags).
Micro‑CTAs: Get your link / Request demo
Measuring success & testing
Track both engagement and commercial KPIs:
- Try‑on clicks / link opens
- Try‑on to add‑to‑cart conversion
- Purchase rate for try‑on users vs control
- Session duration and screenshots/shares
- Return rate post‑purchase (where possible)
A/B test ideas: PDP button text, camera vs upload first choice, and different visual overlays. Use UTMs and instrument events in your analytics platform; see a measurement guide: try‑on analytics.
Common pitfalls & how to avoid them
- Scale mismatch → enforce photography standards and calibration.
- Poor lighting → show tips and auto‑exposure prompts.
- Slow load times → optimize assets and lazy‑load.
- Privacy friction → provide clear camera permission copy and an upload fallback.
- Low realism → iterate on materials/models and provide multiple viewing angles.
Accessibility, privacy, and legal considerations
- Camera permissions: explain why the camera is needed and how images are used; offer upload fallback.
- Data minimization: avoid storing facial data unless needed; document retention and deletion options.
- Regulations: confirm compliance with regional privacy laws such as GDPR and CCPA.
- Accessibility: follow WCAG guidance for accessible controls and non‑visual fallbacks (see WCAG).
Marketing & distribution tips
- Add a PDP badge: “Try on with AR” with a direct link.
- Promote via social influencers with swipe‑up or link in bio leading to the try‑on URL.
- Use hero banners and paid social ads that deep‑link users into the try‑on experience.
- Include the try‑on link in email/SMS campaigns and track UTMs for attribution.
- Encourage UGC: ask customers to share screenshots using a campaign hashtag.
Conclusion & CTA
Virtual try‑on gives customers a low‑friction way to evaluate frames and lets your marketing and product teams distribute an engaging experience quickly across channels. For a fast, no‑code path to launch, tryitonme.com provides a link‑based workflow with 3‑day turnaround — Book a Demo.
FAQ
- What is virtual try on for sunglasses?
- Virtual try‑on for sunglasses overlays frames on a shopper’s face using camera input or uploaded images so they can preview fit and style without a physical try‑on.
- How accurate is sunglasses AR try on?
- Accuracy depends on implementation (landmark tracking, model quality, scale calibration). Vendors vary; try a demo and request sample comparisons to assess fit for your catalog. See accuracy guidance: try‑on accuracy guide.
- Can I use tryitonme.com with Shopify or other platforms?
- tryitonme.com provides a shareable link you can add anywhere (PDPs, social, emails). For platform‑specific embedding or advanced analytics, use your platform’s link/button options and add UTMs. Learn more at tryitonme.com.
- How long does it take to launch?
- Typical no‑code delivery is under 3 business days after onboarding and photo submission via tryitonme.com.
- What about privacy and data storage?
- Provide clear camera permission copy, avoid storing facial data unless necessary, and document retention/deletion options. Follow applicable privacy laws such as GDPR and CCPA.
Post‑publish checklist (editor notes)
- Meta title: “Sunglasses Virtual Try On — TryItOnMe No‑Code VTO”
- Meta description (~140–160 chars): “Add sunglasses virtual try on quickly with TryItOnMe — zero code, shareable link, fast AR processing. Book a demo.”
- Add schema FAQ markup (see Google FAQ structured data).
- Ensure images have alt text containing: “sunglasses ar try on” and “sunglasses virtual try on”.
- Include clickable demo link to https://tryitonme.com with UTM parameters for tracking.
Visuals & assets to prepare
- Short GIF/video of a live browser try‑on (alt: “sunglasses ar try on demo”).
- Before/after screenshots with captions (alt: “sunglasses virtual try on before after”).
- Simple tech flow diagram (product photos → AR processing → shareable link).
- Compress assets and lazy‑load on page.
Technical & SEO notes
- Ensure H2/H3 headings include required keywords: what is virtual try on for sunglasses, sunglasses ar try on, sunglasses online try on, sunglasses virtual try on.
- Add internal links to https://tryitonme.com and use UTM parameters on main CTA.
- Add FAQ schema as above.