Nose Rings Virtual Try On Pricing: What Jewelry Brands Should Expect
Quick Summary
- Virtual try-on (VTO) pricing varies by SKU count, asset fidelity (2D vs 3D), and distribution channels.
- Common billing models: subscription, per‑SKU, pay‑per‑session, revenue share, and enterprise licensing.
- No-code, link-based VTO (tryitonme.com) reduces setup cost and speeds time-to‑market for accessories.
- Estimate budgets from small pilots (~$2k–$5k first year) to enterprise contracts (bespoke TCO).
Introduction — What “nose rings virtual try on pricing” means and why it matters
Nose rings virtual try on pricing refers to the costs and pricing structures brands face when adding augmented‑reality or AI‑driven nose‑ring try‑on to their commerce experience. This buyer’s guide explains common pricing models, the cost drivers that matter for nose‑ring sellers, sample budget scenarios, and practical procurement advice. If you want a fast, low‑friction path to VTO, tryitonme.com offers a no‑code, link‑based VTO option that reduces setup cost and speeds time‑to‑market — see the tryitonme pricing for accessories.
Why VTO matters for nose rings (business impacts & customer expectations)
Virtual try‑on isn’t a novelty for nose rings — it addresses real customer friction. Nose jewelry sits on a small, complex surface: fit, angle, nose geometry, skin tone, and lighting all change how a piece looks. A realistic virtual preview increases buyer confidence, shortens decision time, and helps reduce returns and exchanges, which matters for profit margins and customer satisfaction. Industry write‑ups and examples explain these stakes and the nuances of piercing‑specific VTO; see an overview of virtual nose‑ring try‑on examples and a practical discussion on unique piercings and realism. For jewelry‑focused, no‑code VTO approaches, see tryitonme jewelry — the no‑code jewelry virtual try on.
Practical business benefits
- Higher conversions: shoppers are more likely to buy when they can visualize fit and style.
- Lower returns: accurate previews reduce “it looked different” returns.
- Bigger carts: try‑on increases cross‑sell and AOV by encouraging exploration.
Pricing models explained — subscriptions, per‑SKU, pay‑per‑session, revenue share, enterprise
Understanding common billing structures helps select the right vendor:
Subscription tiers
Definition: Monthly or annual fee for a defined package of features and usage. Pros: Predictable budgeting. Cons: May include unused capacity. Best for brands that want steady costs and packaged support.
Per‑SKU setup fees
Definition: One‑time cost to create an asset for each style (2D or 3D). Pros: Clear marginal cost per item. Cons: Upfront fees scale with SKU count. Best for mid‑size catalogs — see an example for engagement and fine jewelry SKU pricing in engagement rings virtual try on pricing.
Pay‑per‑session / pay‑per‑link
Definition: Charges based on customer interactions or link usage. Pros: Costs align with engagement. Cons: Forecasting can be harder. Best for marketing‑first pilots and on‑demand campaigns.
Revenue share
Definition: Vendor takes a percentage of sales attributed to VTO. Pros: Low upfront cost; vendor incentives align with performance. Cons: Requires accurate attribution and reporting. Best for new‑to‑VTO brands with constrained budgets.
Enterprise licensing
Definition: Custom contracts for large catalogs, integrations, SLAs. Pros: Tailored capabilities and prioritized support. Cons: Negotiation time and higher cost. Best for omnichannel retailers with complex integration needs.
For more context on typical models and market examples, see a vendor overview at Glamar’s nose‑ring VTO overview and aggregated examples at Intellify’s examples. For a head‑to‑head on jewelry platform tradeoffs, see tryitonme jewelry vs Perfect Corp.
Typical virtual try on packages and tiers (sample estimates)
Illustrative tier breakdown to help procurement compare offerings (confirm final pricing with vendors):
Starter (for boutique & DTC)
- SKUs supported: 10–50
- Link allowances: limited
- Sessions/month: low–moderate
- Inclusions: basic asset creation, standard analytics, email support
- Best if: you want a low‑cost proof‑of‑concept
Growth
- SKUs: 50–200
- Link allowances: moderate
- Inclusions: branding options, priority support, analytics dashboard, asset credits
Pro
- SKUs: 200–500
- Inclusions: SLA, advanced analytics, more asset credits, some customization
Enterprise
- SKUs: 1,000+ (custom)
- Inclusions: API access, PIM/OMS integrations, white‑glove onboarding, custom SLAs
Source/reference for archetypes: Glamar. For no‑code accessory plans and how link‑based tiers map to these archetypes, see tryitonme pricing for accessories.
Inputs that change cost (detailed checklist)
Prioritized checklist — most impactful first:
- Number of SKUs — Asset creation is often charged per SKU; large catalogs compound one‑time costs.
- Asset type: 2D vs 3D/photogrammetry — 3D scans and high‑fidelity models are pricier but deliver realism; see a practical comparison at 2D vs 3D try on guide.
- Visual fidelity (PBR materials & lighting) — Physically based rendering increases realism, especially for metallic finishes.
- Custom fit logic / nose geometry matching — Sophisticated fit algorithms reduce false positives but increase development/QA costs.
- Channel distribution — Web, mobile, social, marketplace links can add packaging, tracking, and analytics work.
- Localization & variants — Multiple markets/languages increase asset and UI customization.
- Integrations (PIM, OMS, analytics) — Direct integrations reduce manual workflows but require dev effort.
- Analytics, reporting, and attribution — Rich analytics help measure ROI but can be an additional service tier.
- SLA, security, and compliance requirements — Enterprise SLAs and compliance add overhead and price.
- Custom UI/UX and branding — White‑label experiences cost more than out‑of‑the‑box links.
Note: tryitonme.com’s zero‑code, link‑based deployment trims development and integration line items by delivering shareable product links rather than an SDK/API implementation — see tryitonme pricing. For vendor evaluation and checklist guidance for small pilots, see the Blue Light Glasses Try On Vendor Checklist.
Realistic pricing scenarios & worked examples (estimates)
These scenarios are illustrative. Contact tryitonme.com for exact quotes.
Small brand (10–50 SKUs) — estimate
- One‑time asset creation: $500–$2,000
- Monthly subscription: $100–$300
- Setup timeline: 2–4 weeks
- First‑year TCO: ~$2,000–$5,000
Mid‑size brand (100–500 SKUs) — estimate
- Per‑SKU asset cost: $30–$60
- Monthly tier: $400–$1,200
- Setup timeline: 4–8 weeks
- First‑year TCO: ~$15,000–$50,000
Enterprise (1,000+ SKUs, custom needs) — estimate
- Custom pricing (includes API, integrations, SLAs)
- Add‑ons (3D scans/localization) raise costs materially
- Timeline: 2+ months
- First‑year TCO: bespoke contract
Sources and market context: Glamar and Intellify. Contact tryitonme.com for exact quotes. For similar category frameworks see sunglasses virtual try on pricing and septum rings virtual try on pricing.
How tryitonme.com is the Right Fit for Your Business
Why consider tryitonme.com for nose rings virtual try on pricing decisions:
- Accuracy for accessories: specialist focus on eyewear, jewelry, watches, and hats — accessory fit and realism are prioritized.
- Speed: no‑code, link‑based deployment delivers fast turnaround and rapid campaigns.
- Easy integration: no SDK or API work — deploy via shareable product links on any web, mobile, or social channel.
- Low setup friction: streamlined onboarding keeps TCO down and simplifies procurement.
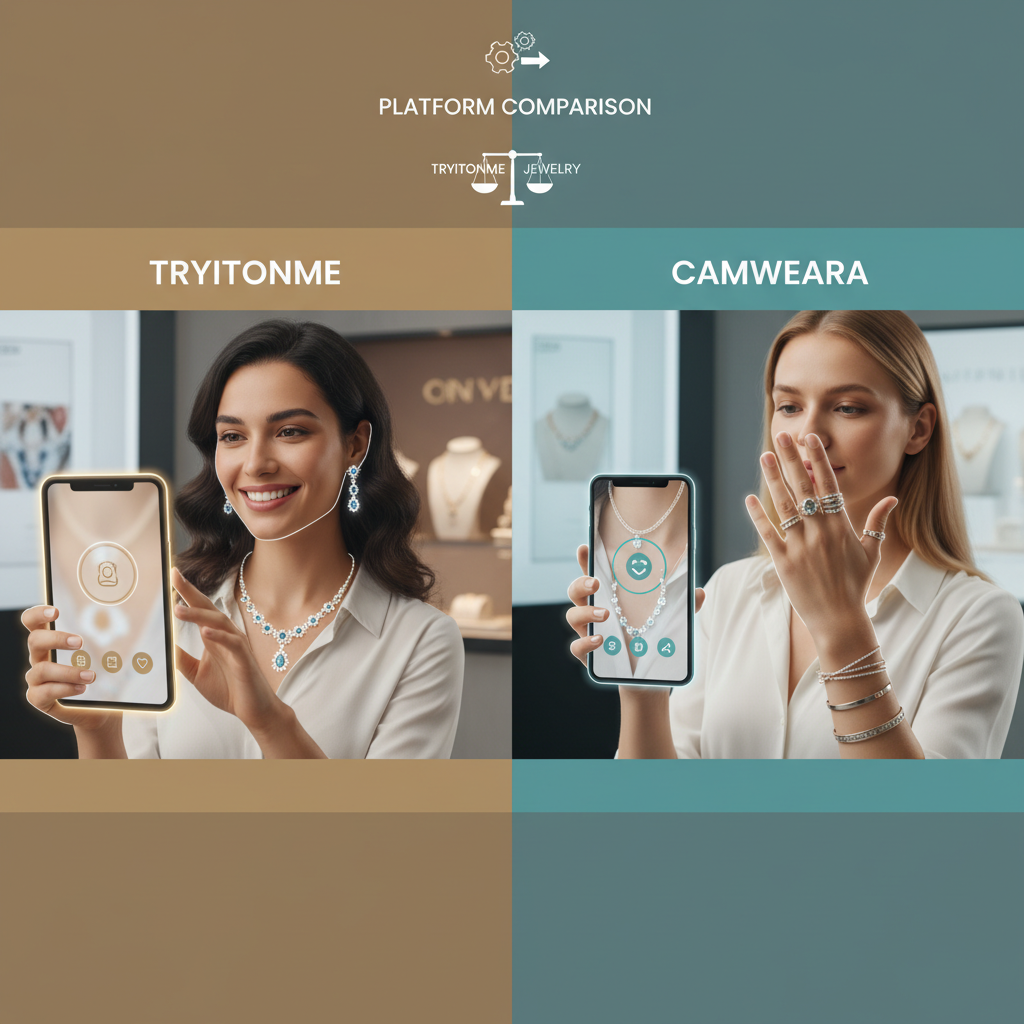
Book a demo or compare vendors: see tryitonme vs Perfect Corp.
Onboarding process (exact steps)
- Customer purchases a 6‑month package based on SKU quantity.
- Customer sends standard product photos (e.g., front/side) — see photo guidance at photo requirements.
- The tryitonme team/AI handles AR processing.
- Customer receives the unique, ready‑to‑use try‑on link for deployment in under 3 business days (for small projects).
How tryitonme.com reduces total cost of ownership (TCO)
Compare link‑based vs SDK/API:
- Development hours: no SDK means fewer dev resources and faster QA cycles.
- Maintenance: vendor‑managed links reduce ongoing integration maintenance.
- Asset reuse: standard photos/2D assets are reused across channels without custom wrappers.
- Faster proof‑of‑concept: quick pilots reduce procurement and marketing cycles.
For integration trade‑offs see Glamar’s guide. For Shopify/link placement guidance see Eyewear Try On Shopify guide.
Recommended internal stakeholders to involve
- E‑commerce / product manager (catalog & asset supply)
- Marketing (campaigns & distribution)
- Engineering (only for integrations if needed)
- Customer experience / ops (returns & QA)
ROI & payback examples (simple templates)
Use conservative uplift assumptions and your own numbers. Industry write‑ups report conversion uplifts for VTO can range widely; use conservative figures when modeling. See examples at Intellify and Perfect Corp.
Template 1 — Incremental revenue
- Baseline monthly traffic to SKU pages: 5,000 visitors
- Current conversion rate: 1.5% = 75 sales
- AOV: $40
- Add VTO, conservative uplift: +20% → new conversions = 90 sales
- Incremental monthly revenue = (90 − 75) × $40 = $600
- Annual incremental revenue = $7,200
Template 2 — Payback period
- First‑year VTO cost: $6,000
- Annual incremental revenue: $7,200
- Payback: ~10 months
Implementation & timeline — step-by-step for no-code link flow
- Catalog audit & SKU prioritization — 1–3 days
- Asset capture (standard photos) — 1–7 days
- AR processing and asset creation — usually under 3 business days for tryitonme.com for small projects
- QA & fit testing — 1–7 days
- Link generation & live deployment — same‑day to a few days
- Distribution & analytics monitoring — ongoing
Add‑ons and advanced features that increase price
- Custom 3D scanning/photogrammetry — higher realism for hero SKUs.
- High‑fidelity PBR materials — improves metallic reflections and realism.
- API/PIM/OMS integrations — removes manual workflows at scale.
- Localization/multi‑language — required for multi‑market launches.
- White‑glove onboarding & enterprise SLAs — for mission‑critical operations.
Each adds commercial value (better conversion, reduced returns, scale) but increases price. For photo requirements and reducing rework, see Blue Light Glasses Try On Photo Requirements.
FAQ
- What’s included?
- Packages typically include SKU assets, session limits, analytics, branding options, and support — details vary by tier. See vendor packages at Glamar.
- Are pilots available?
- Many vendors offer pilots or limited‑SKU trials; ask for a 5‑SKU pilot or demo. See guidance on pilots in tryitonme pricing.
- How long to onboard?
- With no‑code providers like tryitonme.com, links can be delivered in under 3 business days for small projects; larger catalogs take longer.
- Do I own the assets?
- Asset ownership depends on contract terms — confirm with the vendor before signing.
- How is privacy handled?
- Vendors should follow data protection standards and outline privacy in their contracts; confirm specifics before onboarding.
Call to action — request a demo or pilot
See a nose ring try‑on in seconds: request a demo or start a small pilot (for example, a 5‑SKU pilot) at tryitonme.com — the no‑code, link‑based solution that minimizes integration work and speeds time‑to‑revenue. Book a demo or get a custom quote at tryitonme.com/pricing. For category‑specific pilot blueprints and RFP templates, see the blue light glasses virtual try on RFP.
SEO & meta guidance (for page publishing)
Suggested meta title: “Nose Rings Virtual Try On Pricing — Packages, Costs & Examples”
Suggested meta description: “Learn nose rings virtual try on pricing, common packages, cost drivers and sample budgets. Request a demo or 5‑SKU pilot at tryitonme.com.”
Primary keyword included in the title and first paragraph. Use secondary keywords (virtual try on pricing, virtual try on packages) across H2s and body copy.
Visual assets & CTAs to include in the post
- Sample pricing table (label as illustrative).
- Flow diagram comparing link‑based vs SDK integration.
- One worked‑example TCO calculator image.
- Callout boxes: “Inputs that change cost” and “How tryitonme.com saves you money.”
- Primary CTAs: tryitonme.com demo/pilot link.
Internal & external links checklist (must be added before publishing)
External links to include:
Internal links to include:
- tryitonme homepage/demo/contact
- tryitonme pricing/contact page
- tryitonme pricing — accessory plans
- tryitonme jewelry — no‑code VTO
- engagement rings VTO pricing
- septum rings VTO pricing
- 2D vs 3D try on
- photo requirements guide
- vendor checklist
- tryitonme vs Perfect Corp
- sunglasses VTO pricing
Next steps for content team (research & approvals)
- Gather actual tryitonme.com pricing tiers and approved product copy to replace sample estimates.
- Request permissioned case‑study metrics (conversion uplift or sales lift) to cite.
- Finalize demo/pilot wording and canonical demo URL.
- Validate the “under 3 business days” turnaround with operations and adjust claims if required.
Conclusion
Nose rings virtual try on pricing varies by catalog size, asset fidelity, and deployment needs. Use the checklists and worked examples above to scope procurement conversations and make realistic budget requests. For a low‑friction, no‑code path to VTO that minimizes integration costs and accelerates launch, book a demo with tryitonme.com. For additional reading, see tryitonme jewelry — no‑code VTO.